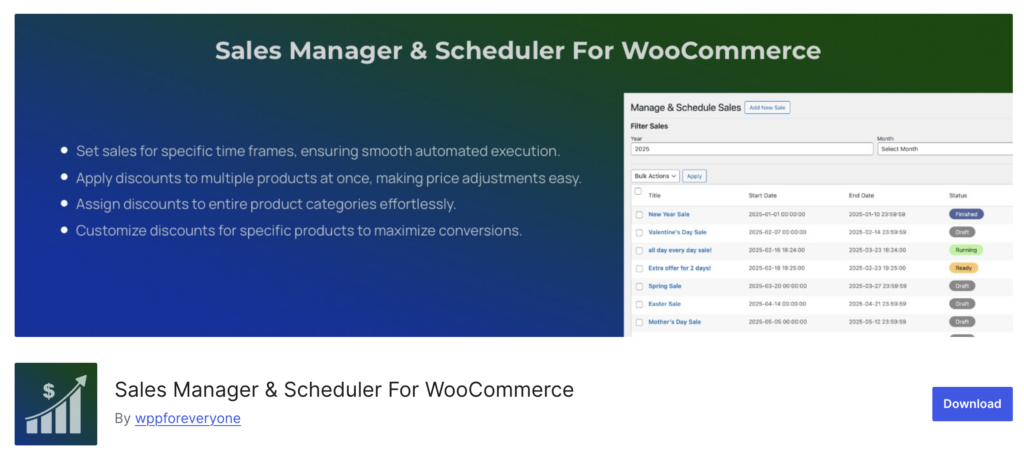
Running sales and discounts effectively in WooCommerce can significantly boost conversions, attract customers, and increase revenue. However, managing sales manually can be time-consuming and prone to errors. This is where the Sales Manager & Scheduler for WooCommerce plugin simplifies the process by automating sales scheduling, bulk pricing management, and product-specific discounts.
In this guide, we will walk you through the steps to schedule and run sales efficiently using this powerful plugin.
Why Schedule Sales in WooCommerce?
Scheduling sales in advance allows you to:
Automate discount activations and expirations without manual intervention.
Plan seasonal promotions like Black Friday, Cyber Monday, or Christmas sales effortlessly.
Offer time-sensitive deals to create urgency and boost sales.
Apply discounts to multiple products in bulk, saving time and effort
Adjust badge appearance to match your WooCommerce store design.

Key Features of the Sales Manager & Scheduler for WooCommerce Plugin
Schedule Sales in Advance – Set start and end dates for sales to automate price adjustments.
Bulk Pricing Management – Apply percentage-based or fixed discounts to multiple products at once.
Category-Specific Discounts – Assign discounts to entire product categories effortlessly.
Individual Product Pricing – Customize discounts for single products to maximize conversions.
Sales Badges for Discounts – Highlight discounted products with eye-catching badges to boost sales.
Custom Styling for Badges – Adjust badge appearance to match your WooCommerce store design.
How to Schedule a Sale in WooCommerce
Step 1: Install and Activate the Plugin
- Go to your WordPress Dashboard
- Navigate to Plugins > Add New.
- Search for Sales Manager & Scheduler for WooCommerce.
- Click Install Now, then Activate.
Step 2: Configure General Sale Settings
- Go to WooCommerce > Sales Manager in your admin panel.

- Click Add New Sale to create a new sales event.
- Set a Sale Name for easy identification.
- Choose Start Date and End Date to automate the discount period.
Step 3: Set Discount Rules
Apply Category-Specific Discounts OR Choose specific Products For The Discounts
- Select product categories that should receive a discount.
- Choose specific products and assign unique discount values.
- Set a Percentage discount.

Step 4: Enable Sales Badges
- Go to the Badge Settings tab.
- Enable Sale Badges to display discounts on product pages.
- Customize colors, shapes, and text to align with your store’s branding.

Step 5: Activate and Run Your Sale
- Once all settings are configured, click Save & Activate.
- The sale will automatically start based on the scheduled date and apply the discounts accordingly.
End Result
| Public Area | Admin Area |
|---|---|
 |  |
Conclusion
Scheduling sales in WooCommerce has never been easier with the Sales Manager & Scheduler for WooCommerce plugin. Whether you need a site-wide discount, category-specific promotions, or personalized product sales, this tool streamlines the process. By automating start and end dates, applying bulk discounts, and enhancing product visibility with badges, you can optimize your WooCommerce store for higher conversions and seamless sale management.
Get the Sales Manager & Scheduler for WooCommerce Plugin Here and start scheduling your sales today!


